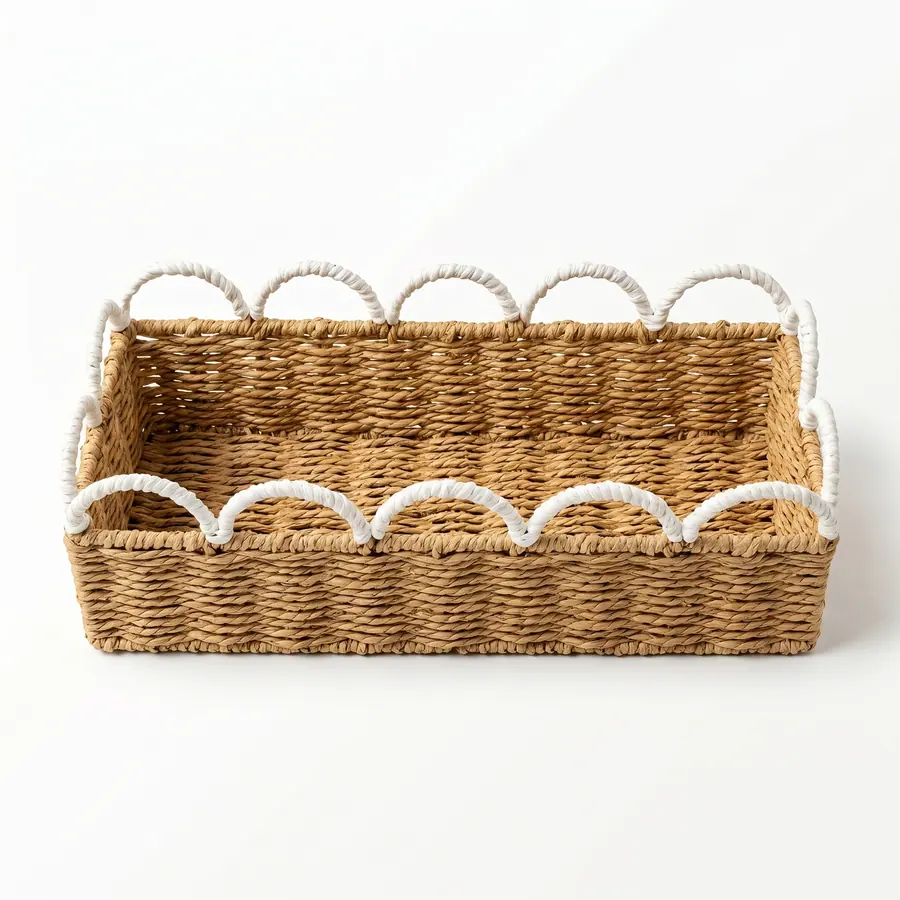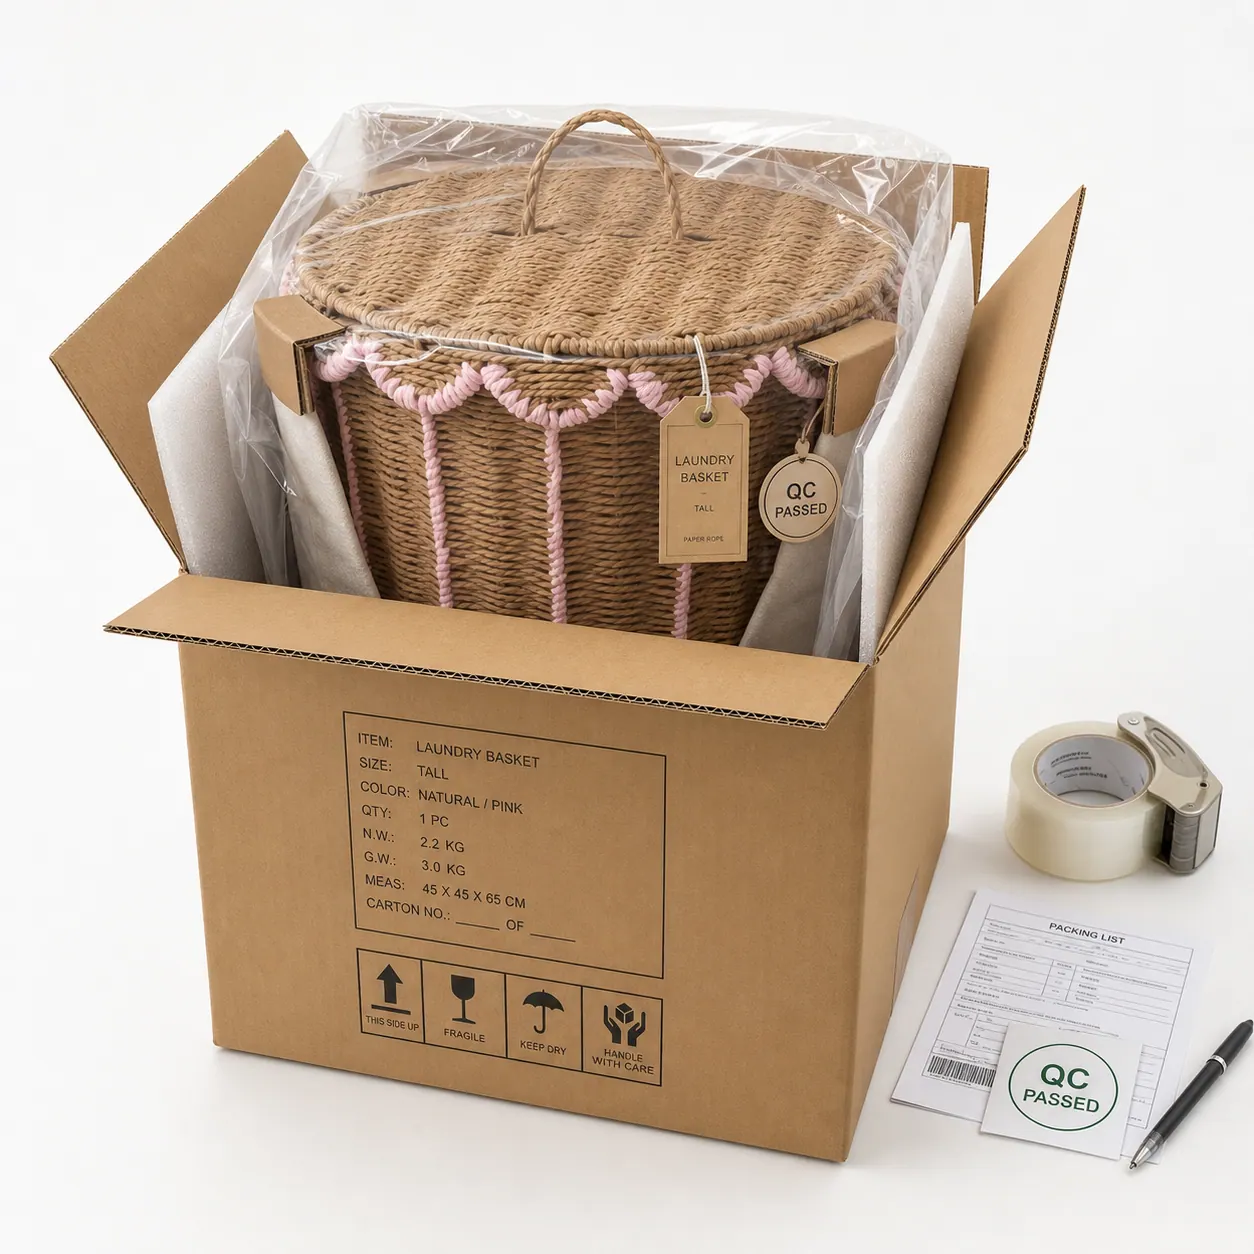
A woven basket pre-production sample is a decision record. It should show whether the order is ready to move into bulk production, what still needs correction, and which variables remain open. Treating the sample as a nice product photo is not enough. The buyer needs a review method that turns the physical sample into production instructions.
This article focuses only on reading and recording the pre-production sample. It does not replace shipment QC or a defect-prevention guide. Connect approved sample records to the factory quality process, and send unresolved project details through RFQ before production decisions are treated as final.
1. Confirm the sample identity and revision
Start by proving which sample is being reviewed. The record should show SKU, size, color, material direction, revision number, sample date, supplier contact, and the specification or comment list it answers. If multiple samples exist, photograph each one with its label or approval sheet.
Sample identity matters because comments are often reused later. A buyer may approve the body shape on version two but reject the label on version three. Without identity, comments from different versions can be combined into a production reference that nobody actually approved.
2. Read components before judging the whole basket
Break the sample into components: main woven material, frame, base, rim, handles, lid, liner, stitching, decorative trim, labels, hangtags, and packing pieces. Ask whether every component is intended for production or whether any item is a temporary sample substitute.
Temporary substitutions should be marked clearly. A sample made with placeholder fabric, temporary label, or non-final packing can still be useful, but the buyer should not approve it as a complete production reference. Each substitute needs a route to final approval.
3. Measure with an annotated method
Dimension review should use marked points. Record outside dimensions, usable inside dimensions, opening size, base footprint, handle drop, lid overlap, and nesting clearance where relevant. Add a photo or drawing that shows exactly where the tape or ruler is placed.
A pre-production sample may be flexible. State whether the basket is measured empty, naturally upright, and without hand pressure. If the buyer needs fit into a shelf, carton, insert, or lid, note which dimensions are critical and which are informational.
4. Evaluate shape as a production target
Shape review should include the views that production will repeat: front, side, top opening, base contact, handle side, inside view, and set nesting if applicable. Do not approve a tall hamper, lidded basket, or nested set from a single front image.
If the shape is acceptable, record the accepted boundary. If it needs correction, describe the correction with a view or measurement. For a more detailed shape framework, use shape consistency in handwoven basket production.
5. Review color by component and by finished unit
Color review should compare the sample with the approved reference and then compare the components with each other. The woven body, liner, thread, trim, label, and printed parts may react differently to light and material batches. The buyer should state whether the total look is approved, whether a closer match is required, or whether color remains open.
If natural variation is acceptable, record the boundary. If the buyer needs a tighter color relationship for a set or retail display, the sample file should state that requirement before material preparation. A sample cannot silently answer every future color question.
6. Include label and packing review in the sample decision
A sample without final label or packing may not be ready for production release. Review artwork, label size, label position, barcode placement where required, hangtag method, liner position, unit protection, nesting order, and carton or inner pack concept. If any of these items is not final, mark it as pending.
This step prevents a common gap: the product is approved, but the packing team later discovers that the label position, carton quantity, or nesting method was never approved. The sample file should make that gap visible.
7. Use three approval outcomes
Use clear outcomes: approved; approved with corrections; or revise and resubmit. “Looks okay” is not a production decision. Approved means the sample can become the production reference for the named revision. Approved with corrections means the buyer accepts the direction but requires listed items to be verified. Revise and resubmit means the sample cannot control bulk production yet.
Corrections and design changes should not be mixed. A correction aligns the sample with the existing brief. A design change alters the brief and may require revised pricing, timing, material approval, or packing review.
8. Sample review table
| Review area | Evidence | Possible outcome |
|---|---|---|
| Identity | Label, SKU, revision, date | Correct sample or wrong version |
| Components | Material and trim close-ups | Production-ready or substitute pending |
| Dimensions | Annotated measurements | Within range or needs adjustment |
| Shape | Multi-angle photos | Approved boundary or correction |
| Color | Reference comparison | Approve, adjust, or hold |
| Label and packing | Artwork and pack-out evidence | Complete or pending |
9. Handoff from sample to production
After approval, the sample record should move into the production file. It should support material release, first-unit review, in-process checks, packing trial, and final inspection. For that staged handoff, connect the sample record to the bulk production gate checklist.
A good pre-production sample review prevents later arguments because it separates what is approved, what is corrected, and what is still open. The physical sample remains important, but the written and photographic record is what lets different teams repeat the decision.
10. Record what the sample does not prove
A sample can confirm construction direction, approximate appearance, dimensions, and component choices, but it may not prove bulk material availability, final carton performance, label legality, barcode data, or destination-market requirements. The approval sheet should list what remains outside the sample decision.
This protects both sides. The buyer can approve the sample without pretending all commercial and compliance questions are closed. The supplier can proceed only on the parts that are actually approved, while open items remain visible in the production file.
11. Keep the physical sample and digital record aligned
The physical sample should be retained where possible, but the digital record is what most teams will see. The photos, measurements, comments, and approval outcome should match the physical item. If the sample is revised by hand after review, the record should show the revision rather than leaving the team to interpret an altered object.
When production begins, refer to the sample by revision and date. Avoid phrases such as “the latest sample” unless the file clearly identifies which one that means.
12. Use sample comments as numbered actions
Sample comments should be numbered actions, not scattered opinions. Each comment should name the location, requested change or approval, evidence needed, and owner. For example, a rim comment should say whether the rim is approved, needs a photo after correction, or requires a revised sample. A label comment should say whether final artwork is pending or placement must change before production.
Numbered actions prevent two common problems. First, the supplier can answer each point without guessing which comments matter most. Second, the buyer can close the sample file by checking whether every action is approved, corrected, or still open. The sample review then becomes a controlled handoff rather than a long email conversation.
13. Do not approve from memory
When a sample has been discussed across calls and messages, reviewers may believe everyone remembers the same decision. The approval file should still state the final result in writing. Memory is not a production reference.