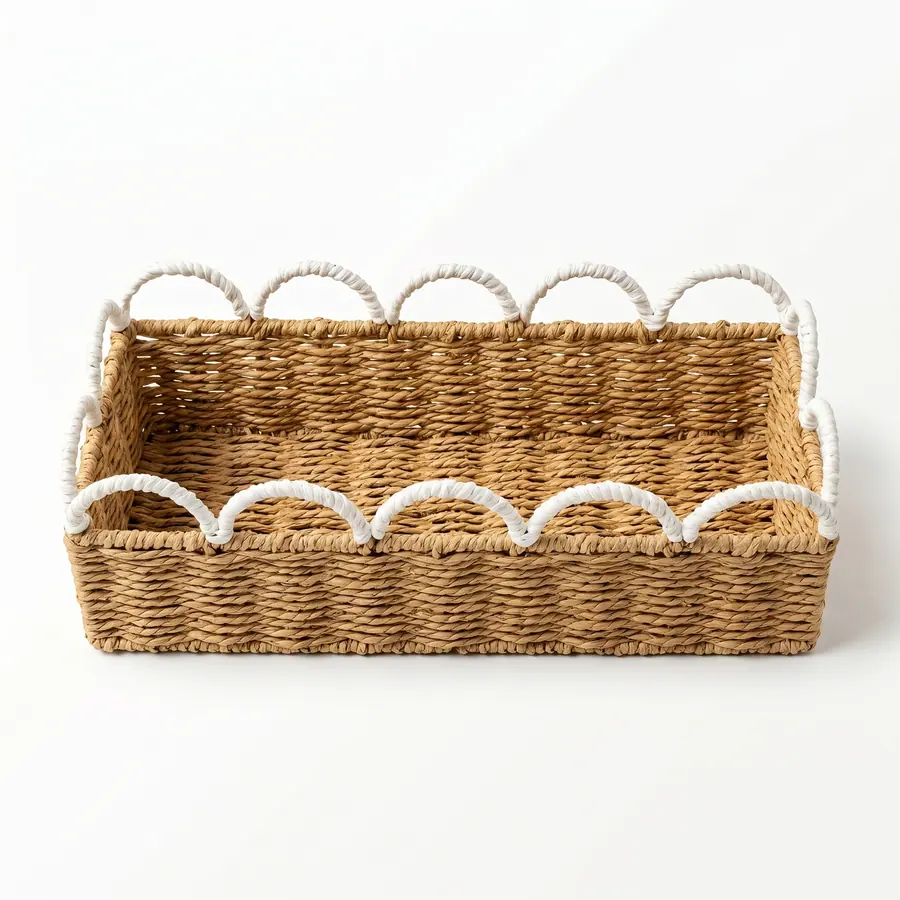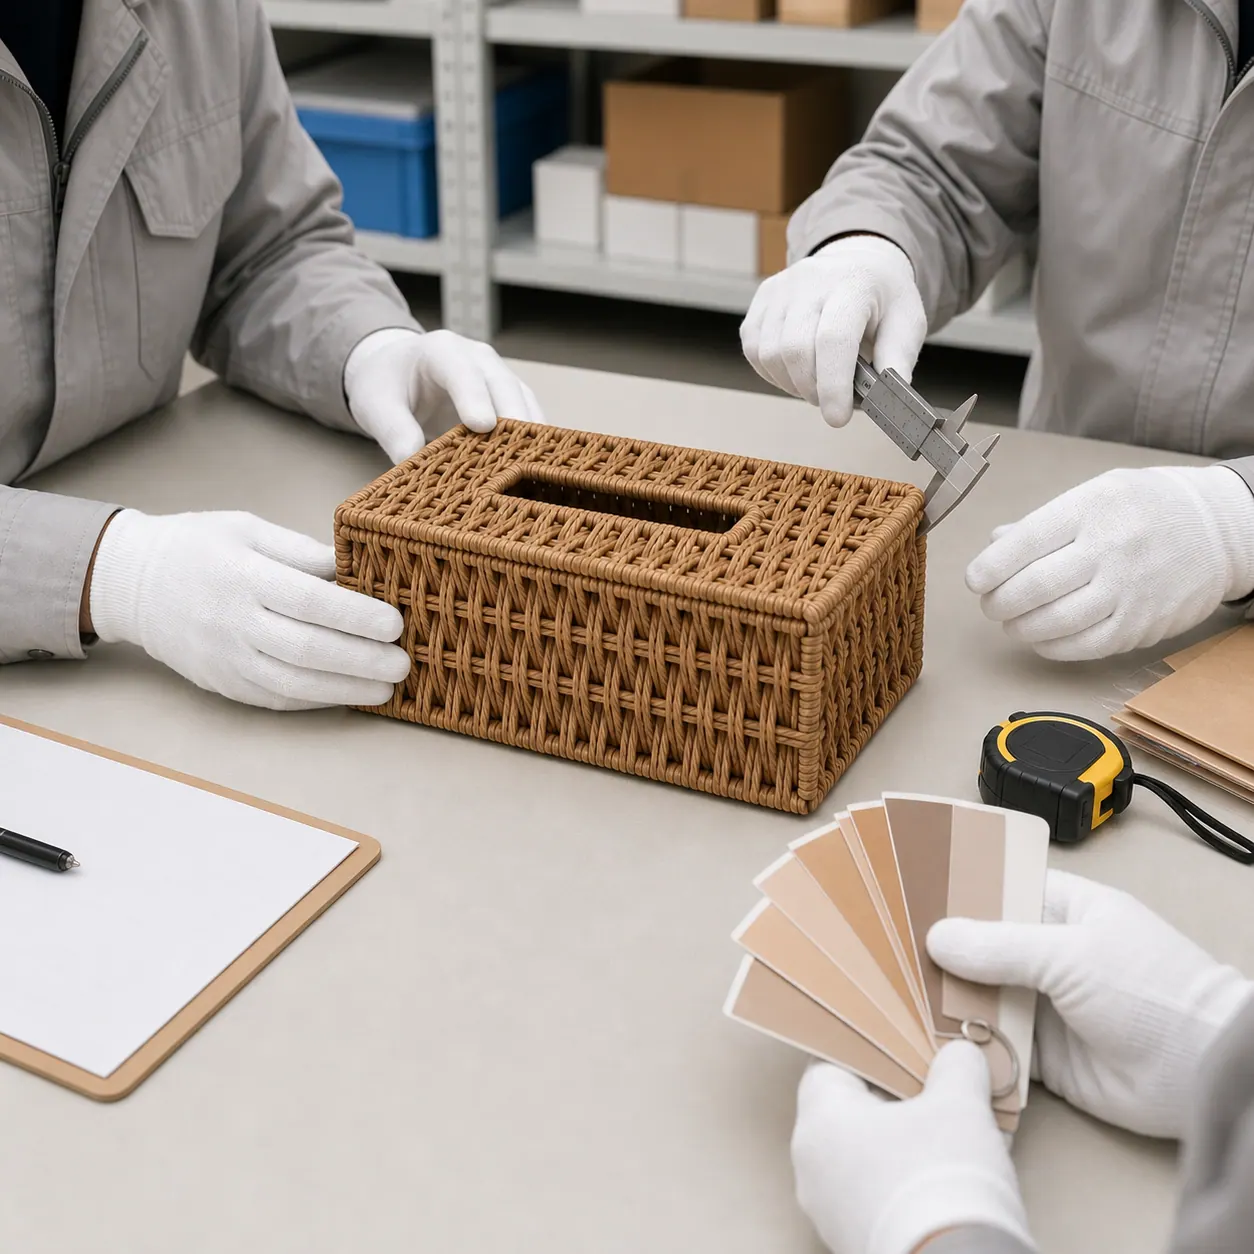
Shape consistency in handwoven basket production should be defined around how the basket is used, displayed, nested, lidded, packed, and photographed. The buyer and factory should not begin with the word “perfect.” They should begin with the parts of the shape that matter: rim, wall profile, base, opening, handle relationship, lid fit, nesting clearance, and shelf footprint.
This guide is about shape only. It does not cover every defect, every final QC step, or every factory-visit question. For broader shipment inspection, use factory QC before woven basket shipment. For the commercial next step, use the factory quality page and submit open requirements through RFQ.
1. Sort shape requirements by buyer use case
A basket used in a cube shelf needs different shape control from a laundry hamper, countertop tray, lidded box, or nested gift set. Start by writing the use case and the failure point. Does the basket need to slide into a shelf? Does a lid need to sit level? Must two sizes nest without rubbing decorative trim? Will the product be photographed from the front for ecommerce?
This use-case sorting prevents over-control. A small handmade wave on a back wall may be harmless for a floor basket but unacceptable if it blocks shelf fit. The buyer should name the shape features that affect function or retail appearance before asking the supplier to propose a practical range.
2. Build the view set before measuring
Shape cannot be judged from one front photo. A useful view set includes front, side, top opening, base contact, handle side, inside view, and packed or nested view when relevant. Each view should answer a specific question. The top view may show rim ovality; the base view may show rocking risk; the side view may show wall lean; the nested view may show clearance.
Ask the supplier to use the same camera distance and orientation for approval photos when practical. The goal is not studio photography. It is repeatable evidence that lets the buyer compare the pre-production sample, first production units, and final goods without guessing which angle changed.
3. Mark measurement points on the product image
Before discussing tolerance, mark where each dimension is measured. For round baskets, note top diameter, base diameter, height, opening size, base footprint, and handle drop if handles affect display or use. For rectangular baskets, record outside length, outside width, height, usable inside dimensions, diagonal comparison, rim width, and base contact points.
The specification should state whether the basket is measured empty, naturally upright, and without hand pressure. Flexible woven items can be forced into a number that does not describe normal use. A photo of the measuring method can be more valuable than another unmarked dimension table.
4. Define shape defects as use failures
Shape defect language should describe the problem caused by the shape. Examples include a lid that cannot seat, a basket that rocks on a flat surface, a wall that prevents shelf insertion, a rim that looks visibly collapsed in the hero photo, or a nested set that scratches because clearance is too tight. These are stronger than “not round enough” or “not straight enough.”
The buyer can still use visual acceptance when numeric measurement is not practical. The important part is to keep a dated sample photo and a short defect example. If the unit is acceptable despite handmade variation, record why it is acceptable so the same variation is not disputed later.
5. Watch shape during the forming steps
Shape is created before final inspection. Material tension, frame preparation, corner wrapping, rim finishing, handle attachment, and drying or storage conditions can all influence the final profile. Ask for in-process evidence at the stage where the shape is formed, especially for tall hampers, tapered baskets, lidded items, and nested sets.
When early units drift, decide whether the supplier should adjust the work instruction, sort affected pieces, revise the sample boundary, or hold production. Waiting until every carton is sealed usually turns a shape issue into a sorting problem rather than a production-control problem.
6. Add packing pressure to the shape review
A woven basket may look correct before packing but change after nesting, compression, or long carton storage. Request a pack-out photo and a shape review after the proposed packing method when shape is commercially important. The buyer should define whether the review happens immediately after unpacking or after a stated resting period.
This is not a universal recovery claim. It is a project-specific observation. If the buyer expects a shape to remain within a boundary after packing, the boundary and method must be written into the order file. For a broader order-gate approach, connect shape records with the bulk production gate checklist.
7. Use a shape-control matrix
| Shape feature | Why it matters | Evidence |
|---|---|---|
| Rim line | Lid fit and retail appearance | Top and side photos with sample reference |
| Wall profile | Shelf fit and visual symmetry | Side view plus width check |
| Base contact | Stability on flat surfaces | Base photo and standing review |
| Opening shape | Usable access and liner fit | Top view and opening measurement |
| Nesting clearance | Set packing and surface protection | Nested-set photo and separation note |
| Handle relationship | Appearance and user expectation | Front view and handle-position note |
8. Keep shape records separate from other quality topics
Do not bury shape comments inside a general defect list. Keep shape records with the approved sample, measurement image, and packing notes. Color, label, moisture, and workmanship can have their own records. This separation helps the buyer decide whether a shipment problem is a shape-control issue or a different quality issue.
For final inspection, connect the shape matrix to common woven basket quality issues. For sample approval, keep the original shape views in the pre-production sample file so repeat orders can be judged against the same evidence.
9. Align shape review with retail photography
Many shape disputes begin after product photos are reviewed, not during measurement. A basket may meet the written size range but look visibly tilted in the front-facing ecommerce image. If the selling channel depends on product photography, add the hero-photo angle to the shape file. Ask whether the rim, wall line, handle pair, and opening shape look acceptable from the camera view the buyer will use.
This does not mean rejecting every handmade irregularity. It means the approved visual target should match the way the product will be presented. A floor hamper photographed from a low angle, a shelf basket photographed straight on, and a tray photographed from above need different view priorities. Record the priority so final QC does not over-focus on a dimension that the customer will never see while missing the angle that controls retail appearance.
10. Treat shape correction as production feedback
When shape drift appears, the response should identify the production cause if possible. Was the frame set differently? Did the material tension change? Was the rim finished by a different method? Did packing pressure alter the wall line? A correction that only says “make it better” gives the next batch no instruction.
Ask for the corrected view beside the original issue view. If the supplier adjusts a forming step, the next in-process check should look at that exact step. This turns shape control into feedback for the weaving team rather than a final inspection complaint.