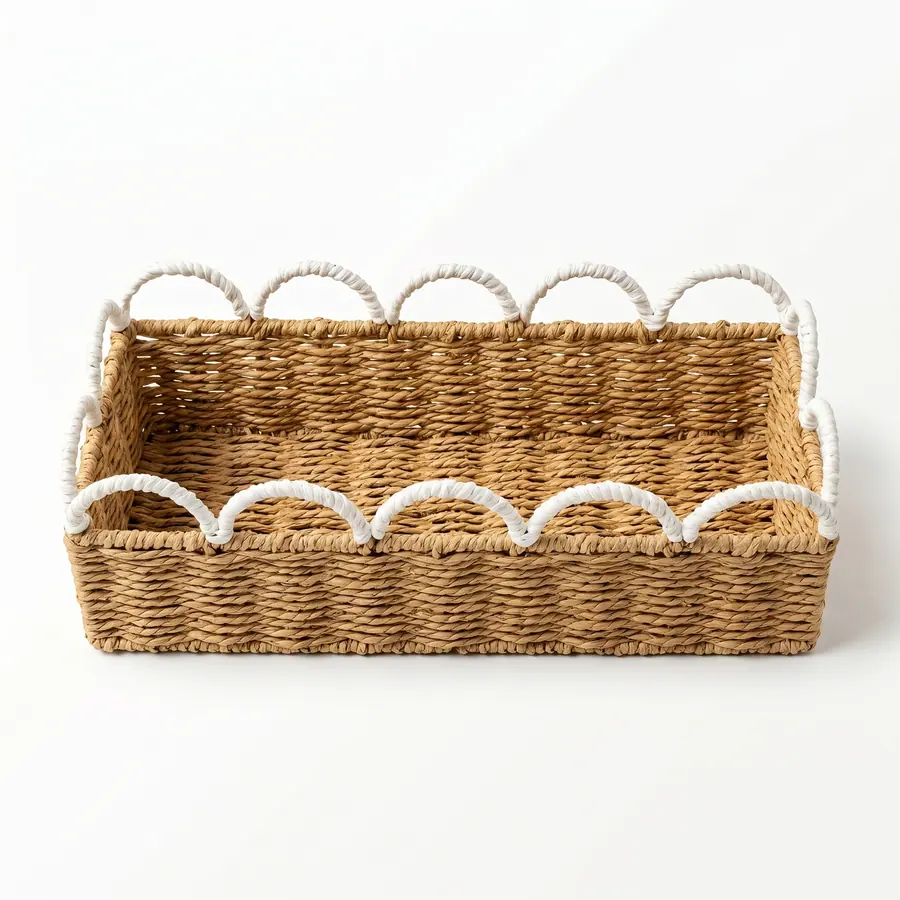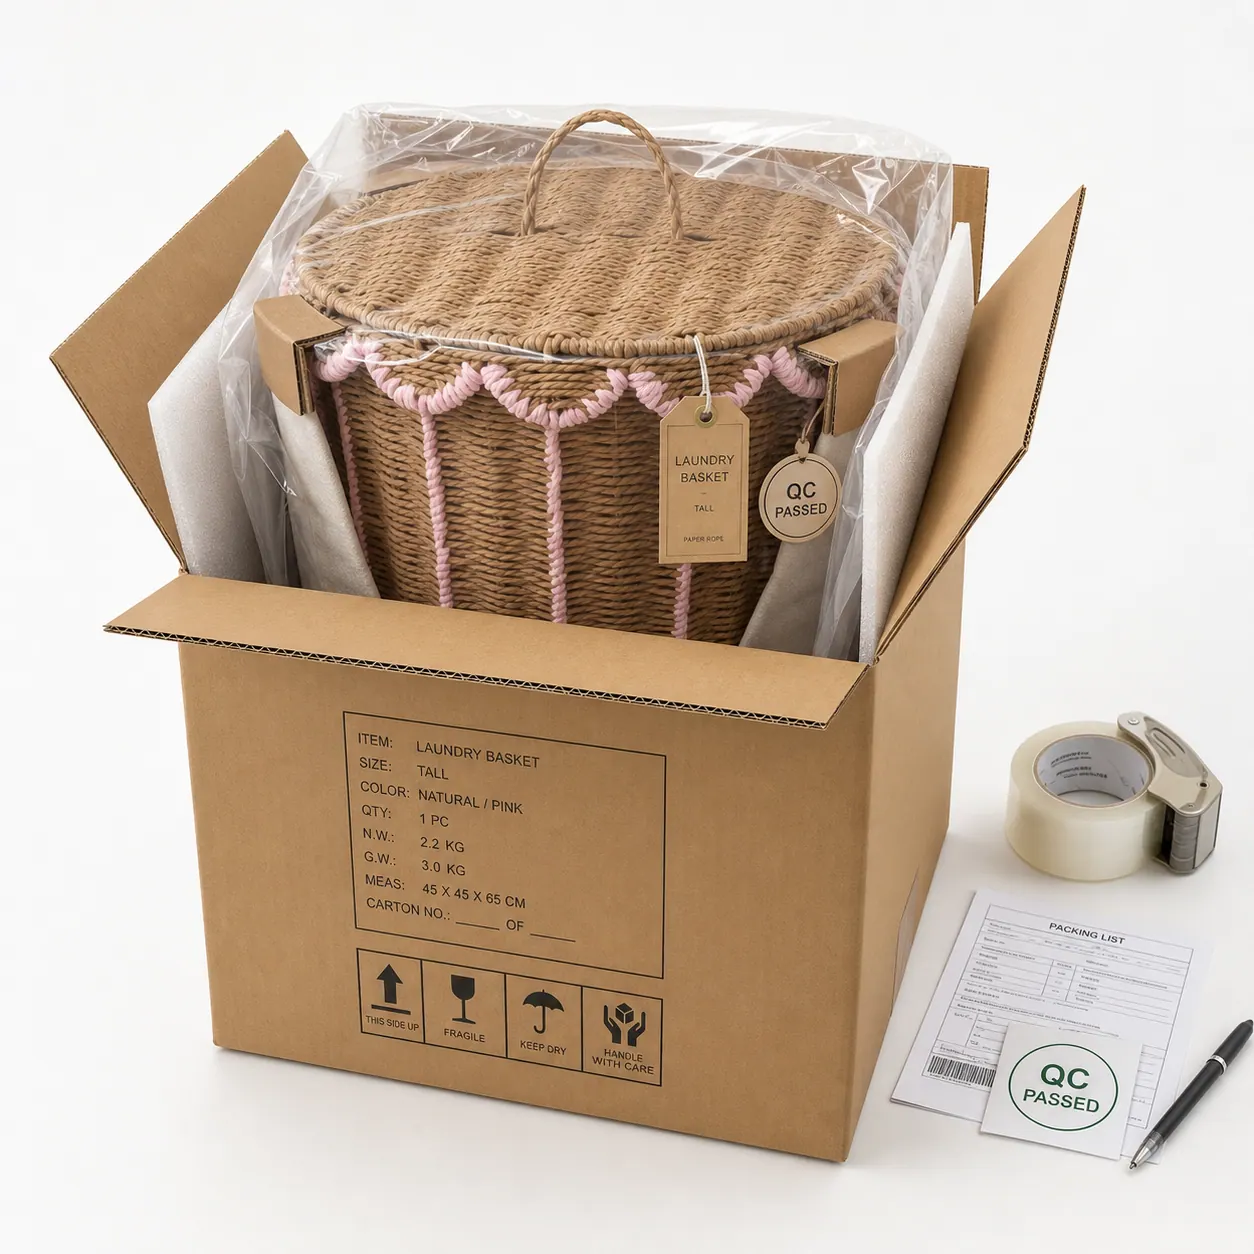
Export carton planning should begin with the packed basket, not with the empty product drawing. Woven storage baskets can be bulky, slightly flexible, nested, labeled, or sold as sets, so the carton plan affects unit cost, warehouse handling, inspection, and the condition of the goods on arrival. Buyers should calculate the export carton from a physical pack-out and record the assumptions before approving a purchase order.
This guide is limited to carton planning for woven storage baskets. It does not give one universal carton strength, moisture level, drop-test result, or pallet pattern. Those decisions depend on the basket construction, destination, carrier route, buyer distribution model, and written contract. The useful task is to make every packing variable visible early enough for sampling, quotation, and inspection.
1. Start with the selling unit and packed unit
The first question is not carton size. It is what one retail or wholesale selling unit means. A single shelf basket, a two-piece nested set, a laundry hamper with a lid, and a mixed-color assortment can all require different protection even when they use similar materials. Write whether the item is sold loose, bagged, belly-banded, tagged, boxed, nested, or combined with another SKU. Then define how many selling units should be placed in one master carton.
Separate product dimensions from packed dimensions. A basket may measure one size when standing freely and another when nested with separators, labels, or protective sleeves. If the basket has handles, a high rim, a fabric liner, a lid, or decorative trim, mark which parts cannot be compressed. The carton marks and shipping documents guide should use the same item code, selling unit, and carton quantity that will appear later on the packing list.
A practical RFQ asks the supplier to propose pieces per carton, orientation, nesting sequence, inner protection, carton dimensions, net weight, gross weight, and any reason the proposal may change after sampling. Submit those details through the structured RFQ page so the pack-out is treated as part of the product, not as a warehouse afterthought.
2. Calculate carton quantity from nesting, not hope
Nested baskets can save volume, but the nesting plan must be tested. Record which size goes inside which size, whether surfaces touch, whether labels or hangtags are attached before nesting, and whether the inner item can be removed without pulling trim or distorting the rim. If a set includes multiple sizes, test the smallest and largest together because a small change in rim height can change the whole carton.
Use a trial carton instead of a spreadsheet-only calculation. Pack the actual basket or a final sample with the intended bag, insert, label, separator, and carton. Close the carton, reopen it, and inspect rim shape, handle position, label movement, abrasion marks, and whether the product still presents correctly. Photograph the empty carton, layer sequence, protected surfaces, final closed carton, and reopened products.
The buyer should ask whether the pieces-per-carton number is fixed or conditional. A supplier may quote one arrangement for an unbranded sample and need another after barcode labels, fabric liners, retail tags, or thicker separators are added. That does not mean the first quote was wrong; it means the quotation assumptions changed. Keep the pack-out version number with the sample approval file.
Record the carton calculation as a pack-out decision
Carton dimensions and quantity should be released only after the selling unit, set direction, protection, and compression limits have been tested together. A volume calculation alone cannot show whether a rim, handle, liner, label, or nested inner basket will retain the approved presentation.
| Pack-out variable | What the buyer and supplier should record | Trial-carton evidence |
|---|---|---|
| Product dimensions | Measurement method and approved length, width, and height for each basket or set component | Reference sample and dimension photos |
| Selling-unit and set direction | Single item or set, nesting order, upright/side orientation, and which component faces outward | Layer-by-layer packing photos |
| Packed dimensions | Actual occupied size after labels, bags, separators, liners, lids, and accessories are included | Open-carton and closed-carton measurements |
| Quantity per carton | Pieces, sets, or assortment ratio, stated without mixing units | Count photo and carton-content record |
| Net and gross weight | Net product quantity basis and gross packed-carton result | Recorded trial-carton weights; final values updated if the pack-out changes |
| Compression risk | Rims, handles, lids, feet, liners, labels, or decorative parts that must not be forced | Photos before packing and after reopening |
| Movement and empty space | Where restraint or separation is needed without creating harmful pressure | Reopened-product condition and protection layout |
| Approval status | Pack-out revision, approved exceptions, and owner of the final decision | Dated approval linked to the sample and quotation |
Net weight, gross weight, and carton dimensions should be treated as pack-out results, not permanent values copied from an earlier SKU. If the basket size, nesting direction, retail packaging, separator thickness, quantity, or carton construction changes, repeat the affected measurements and update the carton marks and packing-list basis.
For moisture-sensitive materials, review the separate natural-fiber moisture packing guide. Buyers who need evidence of production, packing, warehouse, and loading stages can also review the factory process before defining the photo and approval file.
3. Protect pressure points before choosing carton dimensions
Woven baskets rarely fail only because a carton is a few centimeters larger or smaller. Problems usually start where pressure concentrates: rims, corners, handles, lids, feet, labels, appliques, and any raised decorative band. Identify those points on the product photo and decide whether they need sleeves, paper wrap, dividers, corner protection, a looser nesting angle, or a different carton orientation.
Do not force a tall rim into a short carton to improve loading volume. Compression may change the basket profile, push handles out of position, or leave labels creased. At the same time, excessive empty space can allow movement. The better decision is a documented pack-out with reasonable restraint, clear contact points, and an inspection record that shows the packed product still matches the approved sample.
Moisture-sensitive natural materials need their own packing discussion. If the order uses water hyacinth, paper rope, seagrass, rattan-like fibers, fabric liners, or paper labels, review the related guide on packing against moisture for natural-fiber basket shipments. Carton planning and moisture planning should be coordinated because tighter sealing is not always the best answer when goods are not fully conditioned.
4. Align labels, barcodes, and readable panels
Carton planning must leave space for retail labels, SKU stickers, barcode panels, carton marks, and inspection labels. A barcode placed on a curved or compressed surface may be harder to scan, and a master carton mark placed over tape or a corner may be hard to read in a warehouse. Decide which panels need to stay flat and visible before the carton is ordered.
For baskets sold to retail programs, the label plan should show the product label, hangtag, care label, barcode, country-of-origin wording if required by the buyer, and any carton-level identification. The separate retail label and barcode planning guide covers data approvals and artwork control. In the carton plan, the key point is physical protection: labels should not rub against a rough weave, sit under a pressure point, or be hidden inside a nested set unless the buyer intends that position.
Ask the supplier to photograph every label and barcode after packing one trial carton. The image record should show position, readability, orientation, and whether the label remains attached after the carton is reopened. If scanning is required, the buyer should state the scanning method and approval responsibility rather than assuming every printed code will be accepted downstream.
5. Match carton marks and documents before sealing goods
The carton mark is not decoration. It connects the physical carton with the purchase order, item code, quantity, destination, and shipping documents. The commercial invoice, packing list, carton mark file, carton labels, and buyer internal SKU sheet should use the same identifiers. Differences in item code, carton count, quantity per carton, gross weight, or carton dimensions can slow receiving even when the baskets are correct.
Create a simple cross-check table before mass packing: item code, description, color, size, selling unit, pieces per carton, carton number range, net weight, gross weight, carton dimensions, PO number, destination, and any barcode or case label data. The carton marks and shipping documents guide focuses on those document fields in more detail.
U.S. Customs and Border Protection publishes importing guidance that covers the need for accurate entry and shipment information. Buyers should still confirm the document set with their broker, forwarder, and destination-market requirements. A basket supplier can prepare the agreed commercial documents, but the buyer must define which data fields and descriptions are acceptable for the transaction.
6. Build the pack-out evidence file
A useful export carton file contains more than a carton specification. It should include the approved product reference, retail packing method, master carton layout, photos of each packing stage, final carton mark artwork, carton dimensions, net and gross weight, quantity per carton, total carton count, and any exception approved by the buyer. Keep the file with the sample record and quotation.
| Pack-out decision | What to record | Why it matters |
|---|---|---|
| Selling unit | Single item, nested set, assortment, label status | Prevents quantity and price confusion |
| Orientation | Upright, side, nested, layered, mixed | Controls rim, handle, and label pressure |
| Protection | Bag, sleeve, divider, wrap, insert | Shows which surfaces are protected |
| Carton data | Dimensions, weights, pieces per carton | Connects quote, packing list, and warehouse receiving |
| Marks | PO, SKU, carton number, destination, barcode data | Links cartons to documents and buyer files |
| Evidence | Trial carton photos and reopened-product photos | Confirms the plan was tested before mass packing |
The checklist should be short enough for a merchandiser to use and strict enough for inspection. If a later change adds a hangtag, increases carton quantity, changes carton marks, or splits one assortment into several labels, update the pack-out file before production goods are sealed.
7. Put carton planning into the quotation timeline
Cartons, labels, separators, sleeves, and printed marks often need decisions before all baskets are finished. If the buyer waits until final inspection to approve carton marks or label positions, finished goods may sit unpacked or require rework. Add packing milestones to the project calendar: artwork approval, trial carton, carton purchase, first packed carton approval, mass packing, and final inspection.
The quotation should state whether the unit price includes the proposed retail packing, export carton, labels, separators, and carton marks. It should also state whether a changed pack-out can affect price, volume, or timing. For woven products, packing is not a small clerical detail; it changes labor, material use, carton volume, and inspection evidence.
Before releasing the purchase order, ask for one written answer to this question: what exact product, label state, protection method, carton quantity, carton mark, and document data are included in the quoted pack-out? If the answer is incomplete, the buyer is not ready to compare landed cost or approve shipment planning.