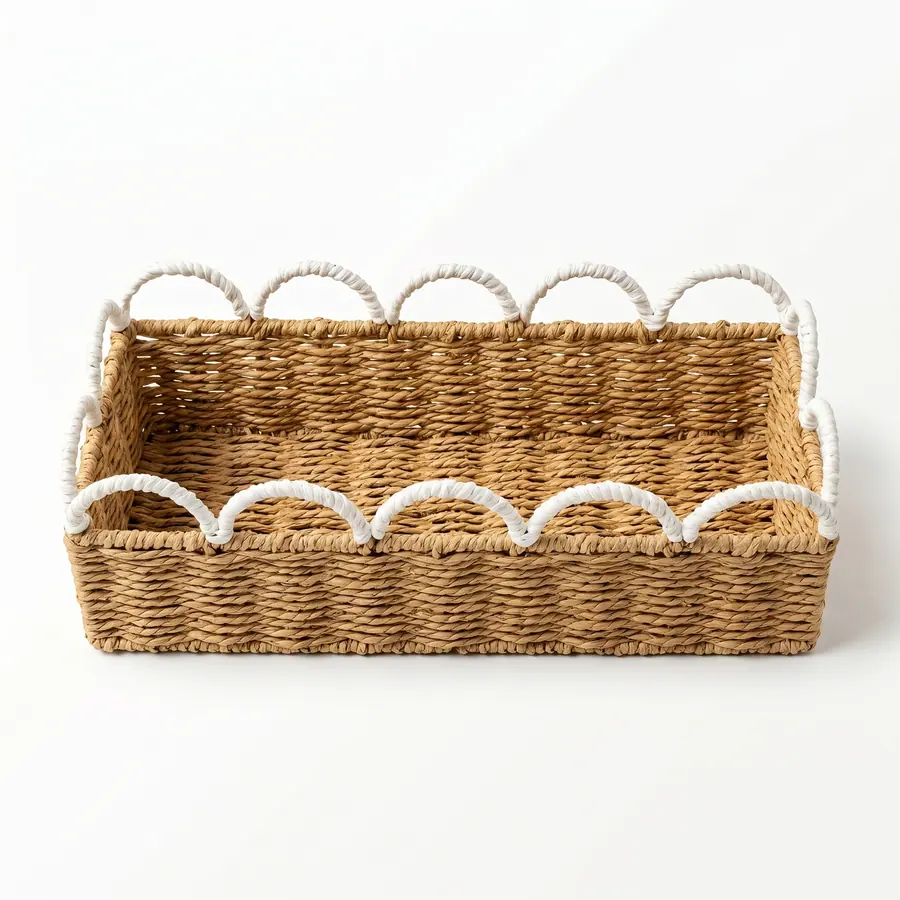
A nested basket set is a coordinated selling unit, not one basket copied into multiple sizes. Buyers need a size ladder, clearance rule, label strategy, protection method, carton arrangement, and repeat-order photo sequence before the set is production-ready.
Nesting may reduce volume in some projects, but that result depends on exact dimensions and protection. This guide avoids assuming savings and instead defines the evidence a buyer should request.
Define what the set promises to the shopper
For nested basket set planning, this checkpoint focuses on decor coordination, space saving, gift bundle, price ladder, room solution. The retail and ecommerce set buyer should write the decision in buyer language and attach the reference that proves the intended result. If a supplier proposes a shortcut, the response should explain what changes in appearance, packing, sample approval, or commercial basis.
size gaps serve a commercial purpose rather than arbitrary scaling. This is also where the buyer keeps evidence boundaries clear: project-specific load checks, tolerance ranges, compliance wording, and production timing are confirmed only when the method, owner, and acceptance rule are written for this exact program.
Write a clearance rule for every nested piece
For nested basket set planning, this checkpoint focuses on surface contact, trim protection, handle position, removal space. The retail and ecommerce set buyer should write the decision in buyer language and attach the reference that proves the intended result. If a supplier proposes a shortcut, the response should explain what changes in appearance, packing, sample approval, or commercial basis.
sample review includes inserting and separating the pieces. This is also where the buyer keeps evidence boundaries clear: project-specific load checks, tolerance ranges, compliance wording, and production timing are confirmed only when the method, owner, and acceptance rule are written for this exact program.
For nested clearance record, the internal links in this article support distinct decisions rather than a generic reading path. Use the linked category or guide pages to clarify references, then keep the article's commercial path and RFQ step explicit in the buyer brief.
Choose set barcode or individual identifiers
For nested basket set planning, this checkpoint focuses on one retail set label, each-piece SKU, outer sleeve, unit bag. The retail and ecommerce set buyer should write the decision in buyer language and attach the reference that proves the intended result. If a supplier proposes a shortcut, the response should explain what changes in appearance, packing, sample approval, or commercial basis.
label logic follows the sales model and pack-out. This is also where the buyer keeps evidence boundaries clear: project-specific load checks, tolerance ranges, compliance wording, and production timing are confirmed only when the method, owner, and acceptance rule are written for this exact program.
Photograph nesting pressure points
For nested basket set planning, this checkpoint focuses on rim contact, handle rub, stitch compression, label coverage. The retail and ecommerce set buyer should write the decision in buyer language and attach the reference that proves the intended result. If a supplier proposes a shortcut, the response should explain what changes in appearance, packing, sample approval, or commercial basis.
carton evidence shows how the set travels. This is also where the buyer keeps evidence boundaries clear: project-specific load checks, tolerance ranges, compliance wording, and production timing are confirmed only when the method, owner, and acceptance rule are written for this exact program.
| Nested-set decision | Why it matters | Approval record |
|---|---|---|
| decor coordination | space saving, gift bundle | size gaps serve a commercial purpose rather than arbitrary scaling |
| surface contact | trim protection, handle position | sample review includes inserting and separating the pieces |
| one retail set label | each-piece SKU, outer sleeve | label logic follows the sales model and pack-out |
| rim contact | handle rub, stitch compression | carton evidence shows how the set travels |
| shared material | related color, matching rim | nested set does not drift away from assortment rules |
Keep the set linked to the wider collection
For nested basket set planning, this checkpoint focuses on shared material, related color, matching rim, aligned label system. The retail and ecommerce set buyer should write the decision in buyer language and attach the reference that proves the intended result. If a supplier proposes a shortcut, the response should explain what changes in appearance, packing, sample approval, or commercial basis.
nested set does not drift away from assortment rules. This is also where the buyer keeps evidence boundaries clear: project-specific load checks, tolerance ranges, compliance wording, and production timing are confirmed only when the method, owner, and acceptance rule are written for this exact program.
Release a set-specific RFQ sheet
For nested basket set planning, this checkpoint focuses on piece dimensions, clearance, selling unit, protection, carton quantity. The retail and ecommerce set buyer should write the decision in buyer language and attach the reference that proves the intended result. If a supplier proposes a shortcut, the response should explain what changes in appearance, packing, sample approval, or commercial basis.
supplier marks assumptions for the complete set, not isolated baskets. This is also where the buyer keeps evidence boundaries clear: project-specific load checks, tolerance ranges, compliance wording, and production timing are confirmed only when the method, owner, and acceptance rule are written for this exact program.
Before release, the retail and ecommerce set buyer should send one file containing the selected references, the decisions above, quantities by variant, destination market, artwork status, pack-out expectations, inspection evidence, and unresolved questions. Submit the controlled request through product set references; if the commercial path is not the final inquiry page, use it for selection and then move the confirmed brief to RFQ.
A useful nested basket set planning record is narrow. It answers the manifest question for this article and points to other pages only when the buyer needs a different decision, such as material selection, factory checks, sample development, or quote comparison. That focus helps avoid cannibalizing adjacent sourcing guides.
Nested set release notes for set integrity
For nested set approval control, the buyer should approve the relationship between pieces as carefully as the individual baskets. The record should show the largest piece empty, the smaller pieces inserted, the pieces removed, and the surfaces reviewed after removal. A nested set can fail even when every single basket looks acceptable on its own.
The release notes should also say whether the set may be split in the warehouse or must remain intact. That decision changes barcode count, label position, carton contents, and replacement handling. Retail and ecommerce teams should not discover the set logic only after cartons have been packed.
A practical nested set example is a three-piece paper rope set with decorative stitching near the rim. The buyer should ask for photographs before nesting, during nesting, and after separation because the decoration may rub even if each basket looks correct alone. The final RFQ should state whether the set is sold as one unit and whether labels remain visible after packing.
The buyer should also define how replacement or customer-service issues will be handled for nested sets. If one piece in a set is damaged, the team must know whether the supplier replaces one basket, a full set, or a carton quantity. That commercial decision affects barcode logic and packing records, so it belongs in the sourcing brief before production.
For the nested-set route, compare set references in the product catalog, review material examples in paper rope baskets, connect multi-SKU logic to the collection development guide, and submit the set sheet through RFQ.