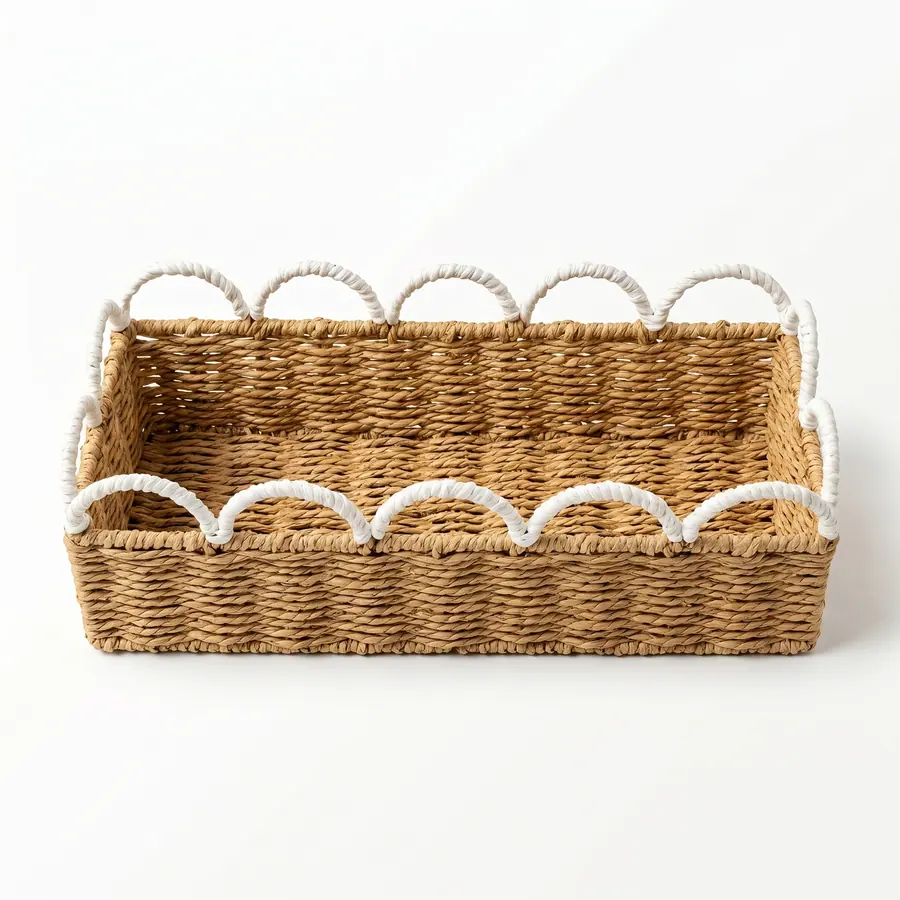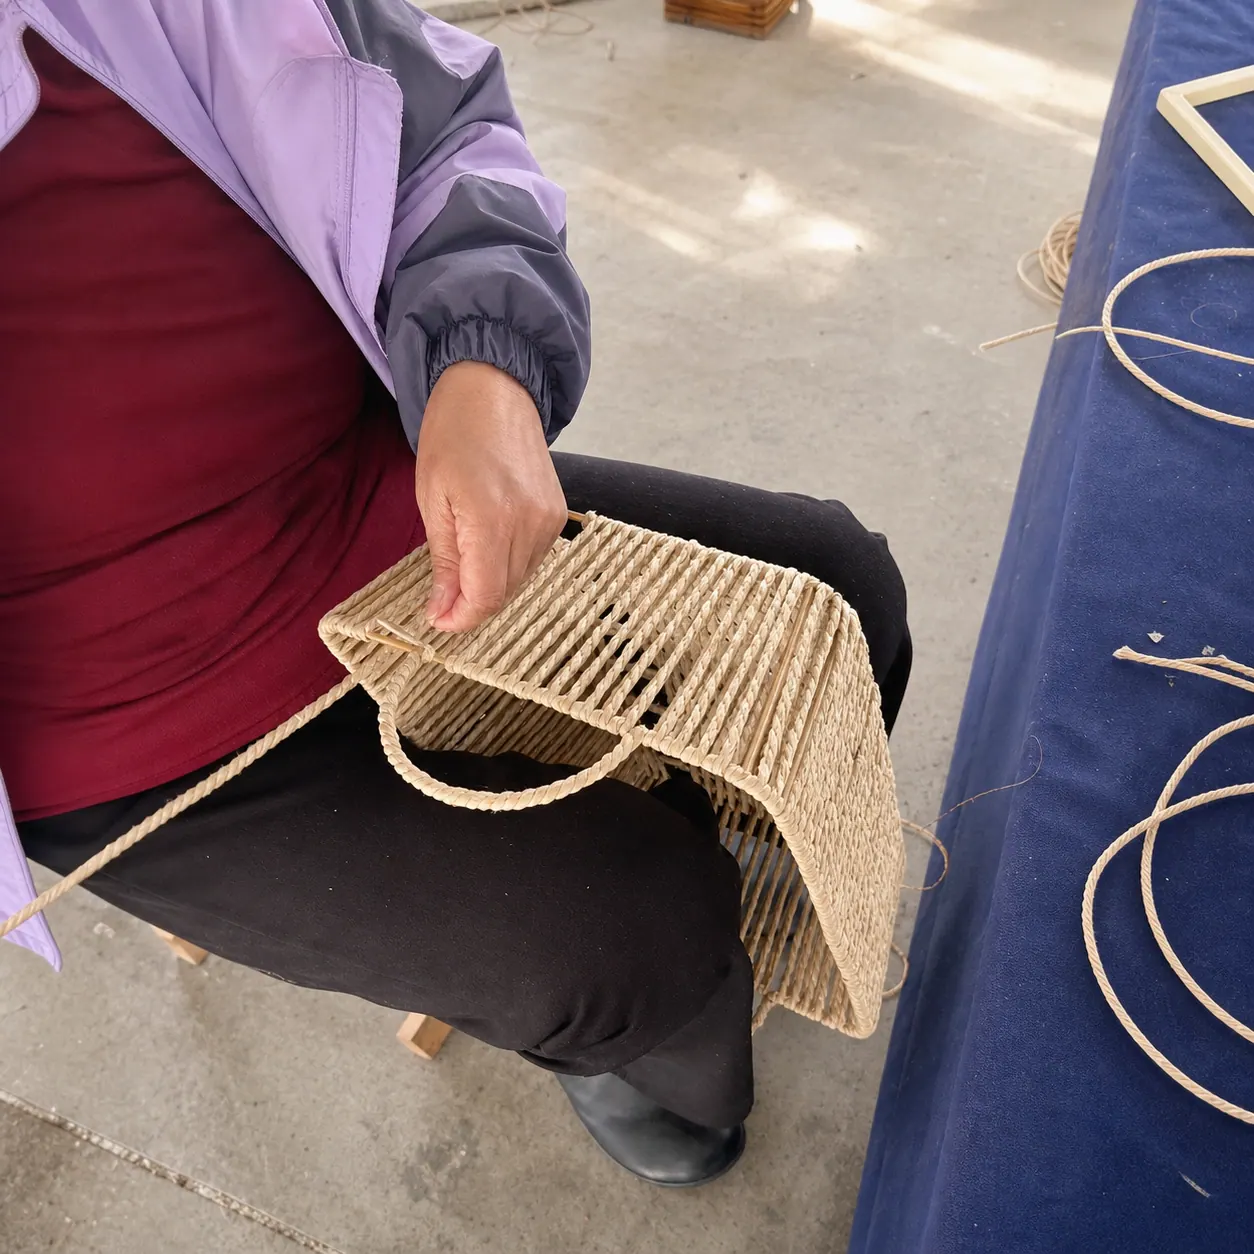
Choose a woven basket handle by intended use first, then specify its material, construction, attachment, placement, clearances, appearance, and validation method. Decorative loops, pull handles for a shelf bin, and handles intended to lift a loaded hamper are different design problems. A silhouette or material name alone cannot tell the factory what the handle must do.
The buyer should describe the use scenario and define any functional check, load, cycle, or acceptance threshold for the exact product. This guide does not provide a universal capacity because basket size, frame, weave, attachment, material, and user behavior vary.
Classify the Handle's Job
Write one primary job for each handle: decorative detail, drawer-style pull, two-hand carry, one-hand carry, lid grip, or merchandising feature. If a handle has more than one job, rank them. A low cutout may work for pulling a shelf basket but provide limited clearance for carrying; a tall loop may carry comfortably but interfere with nesting or carton height.
Describe where the product will sit, what the user is expected to place inside, how far it may be moved, and whether the handle is used while the basket is on a shelf, floor, or counter. These are design inputs, not performance claims.
Use the OEM/ODM development path when handle geometry must be developed rather than copied from a complete buyer specification.
Compare Handle Families by Trade-Off
| Handle family | Buyer should evaluate | Common specification questions |
|---|---|---|
| Integrated cutout | Frame opening and edge finish | Opening size, reinforcement, usable grip depth |
| Woven loop | Flexibility and attachment | Material, loop height, root spacing, wrap or stitch method |
| Wrapped rigid handle | Shape and frame connection | Core material, covering, attachment, exposed hardware |
| Rope or cord handle | Grip and knot/fastening | Diameter, end treatment, spacing, movement |
| Separate material handle | Interface with basket body | Material, fastener, backing, contact and color |
| Pull tab | Shelf access and profile | Projection, attachment, label conflict, intended pull direction |
No family is universally stronger or more comfortable. The selected construction and validation evidence must match the specific basket and use.
Specify Material and Cross-Section
Name the handle material separately from the basket body. Record diameter, width, thickness, braid or wrap, core, edge finish, color, surface texture, and any hardware where relevant. If the handle uses the same visual material as the body, state whether the internal construction also needs to match.
Close photographs and a section sketch can prevent misunderstandings. A rope loop can be continuous through the basket, attached to an internal frame, stitched to a panel, knotted, or fixed by another approved method. The visible result may hide a materially different connection.
Require written approval before substituting the handle material, core, hardware, or attachment method.
Define Position With Dimensions
Show handle centerline, root-to-root spacing, distance from rim and corners, loop rise or drop, cutout length and height, and required internal grip clearance. For paired handles, define alignment and symmetry reference. For a front pull, define orientation and its relationship to labels, lids, liners, and shelf clearance.
Measure from stable product landmarks shown on an annotated drawing. Handwoven edges may not provide a perfectly sharp datum, so the buyer and supplier should agree how placement is measured. Set project-specific ranges only after feasibility and sample review.
Photograph the sample from front, side, top, interior, and handle-root close-up. The remote photo evidence guide gives a traceable format.
Engineer the Attachment as Part of the Basket
A handle cannot be approved independently from the frame, weave, rim, liner, and load path around it. The specification should describe what the handle attaches to, how the surrounding area is reinforced, what covering must conceal the connection, and which signs of movement or damage are unacceptable under the buyer's defined check.
For cutouts, review the frame opening, edge treatment, and remaining structure. For loops, review root spacing, attachment, wrap continuity, and interaction with the rim. For separate handles, review fasteners, backing, internal exposure, corrosion or material requirements supplied by the buyer, and contact with stored contents.
Do not infer a safe load from appearance. Request a sample and define the check appropriate to the actual use.
Evaluate Grip, Clearance, and Accessibility
Handle comfort depends on hand clearance, cross-section, edge condition, flexibility, balance, basket width, and intended movement. Ask representative reviewers to use the sample in the planned scenario. Record pinch points, rubbing, sharp or hard edges, liner interference, lid interference, and whether the basket tilts unexpectedly.
If accessibility or market-specific ergonomic requirements apply, the buyer must provide them or obtain qualified guidance. Avoid universal claims about comfort. Document observable criteria such as minimum clear opening defined by the project, no exposed approved-to-be-concealed fastener, and handle orientation matching the approved sample.
Appearance criteria should separately cover symmetry, shape, wrap, stitching, color, and how the handle rests when not in use.
Test the Handle and Basket Together
The buyer should define test purpose, sample condition, contents or load distribution, lifting method, duration or cycles, acceptance criteria, evidence, and responsibility. Possible checks may address intended carry use, pull use, attachment movement, deformation, or post-packaging condition, but they must be designed for the project.
A passing development sample does not automatically prove every production unit. Decide what will be checked on the approved sample, pre-production reference, during production, and final inspection. Record any destructive test treatment and replacement responsibility.
Keep the results tied to sample ID and revision. Changing handle material, dimensions, attachment, frame, basket size, or intended load can trigger reassessment.
Design Handles for Packing and Display
Tall or flexible handles may increase carton height, fold, rub neighboring products, or distort under nesting pressure. Cutouts may reduce projection but affect how products nest. Separate handles or hardware may contact the basket surface. Evaluate the complete pack, not only the unboxed sample.
Run a packing trial showing handle position, nesting sequence, separators, tie or restraint if approved, carton orientation, and condition after unpacking. Do not force a handle into a position that changes its approved appearance unless the recovery method and result are validated for the project.
Retail presentation also matters: a handle may cover a label, interrupt stacking, or change shelf footprint. Record both transport and display positions.
Put the Handle Specification Into the RFQ
Include:
- intended job and user scenario;
- material, cross-section, color, core, and finish;
- handle family and construction detail;
- attachment and surrounding reinforcement;
- placement dimensions and measurement datums;
- grip, clearance, liner, lid, and label relationships;
- visual criteria and approved reference views;
- buyer-defined functional check and acceptance rule;
- packing, nesting, recovery, and display position;
- substitution and reapproval triggers.
Send the specification through the RFQ form and connect it to the sample-development timeline. If handle construction changes the material or SKU plan, also review handmade MOQ variables.
Delivery terms are separate from handle performance. The International Chamber of Commerce Incoterms page explains delivery tasks, costs, and risks, not product load acceptance.
Approve the Intended Use, Not Just the Look
Before release, confirm that the sample uses the specified material and attachment, sits at the approved location, provides the required project clearance, works with the liner and lid, survives the buyer-defined validation, and arrives from the packing trial in the approved condition. Keep identity photos, measurement records, check results, and packing evidence with the specification.
A good handle decision is traceable: why this handle exists, how it is built, where it is placed, how it is expected to be used, and how that expectation was checked. That record prevents a decorative feature from being treated as a carrying claim and gives production and inspection teams criteria they can actually follow.