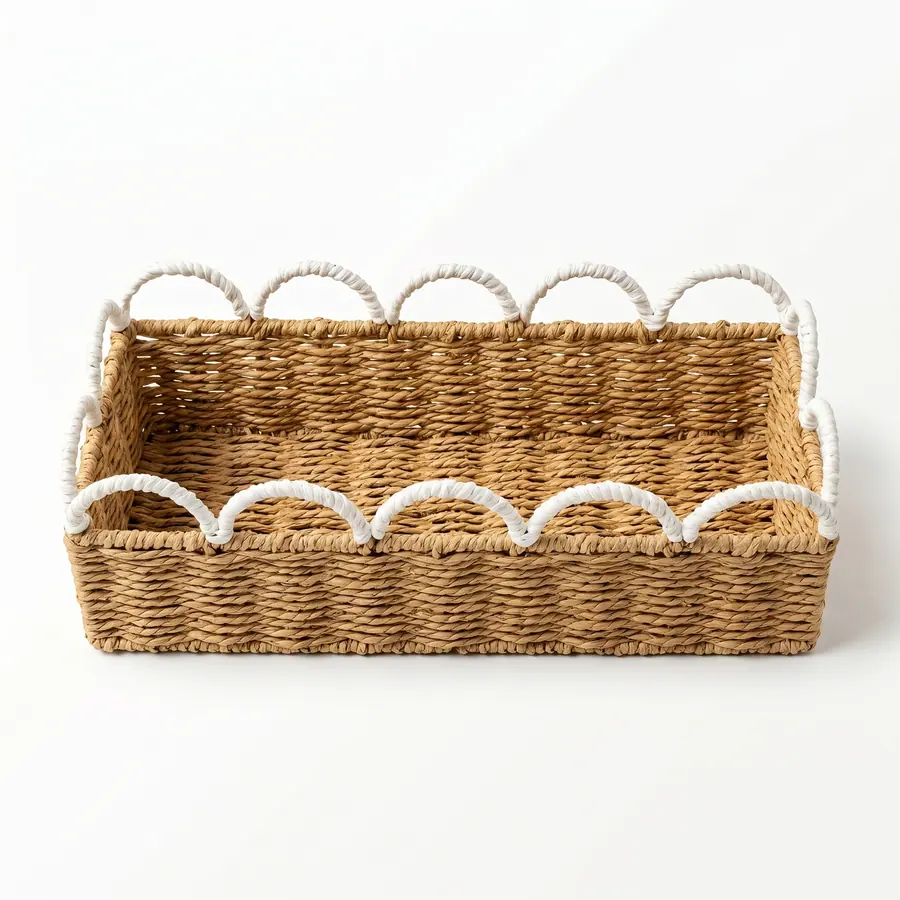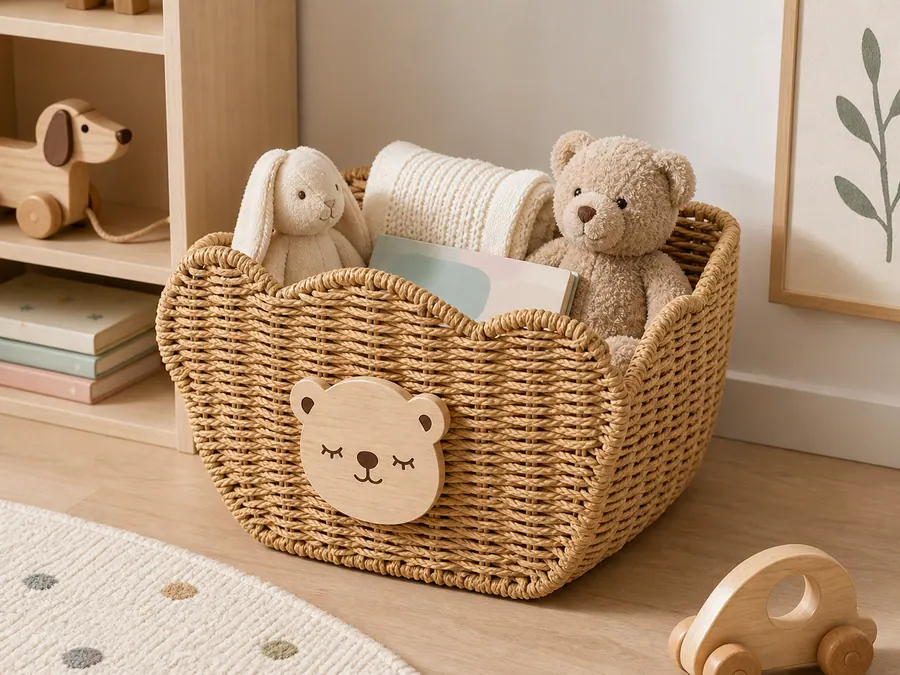
Buyers reviewing a retail kids storage basket should start with the retail proposition, then examine range architecture, silhouette, accessible features, motif execution, usable access, merchandising, labels, and packing as one connected design. "Friendly" is not a measurable product requirement. It must be translated into specific decisions about what the customer sees, touches, understands, and does with the basket.
This guide is for the design-review stage before a complete sampling package is released. It does not prescribe cotton rope for every kids room, repeat the importer sample-approval process, or claim that a visual theme makes a product safe or compliant. Its purpose is to help a buyer decide whether a concept is coherent enough to develop as a retail SKU or collection.
1. Define the retail proposition in one sentence
A useful proposition names the item, placement, storage task, selling format, and intended shopper. For example, a shelf basket for picture books sold as a single item is a different design problem from a two-size floor set for soft toys. The sentence should be specific enough to reject features that do not support the offer.
Add the planned destination, channel, price architecture, and product representation. Will it be sold from an open shelf, in a box, through marketplace images, or as part of a coordinated room range? Is the basket presented primarily as household organization, nursery decor, or a product for children to use? These choices affect scale cues, graphics, labels, photography, and the buyer's product-classification work.
For the United States, the U.S. Consumer Product Safety Commission guidance on children's products identifies factors such as intended-use statements, packaging and promotional representation, consumer recognition, and age-determination guidance. A buyer should not use a cute motif while leaving intended user and market status undefined. Resolve the proposition first, then assign qualified compliance review where required.
2. Build a range architecture before styling individual SKUs
A collection needs a reason for each size, shape, color, and price point. Create a range grid listing SKU role, intended contents, placement, outside and usable dimensions, color, motif, handle or lid, selling format, and target pack relationship. Mark the hero item, entry item, largest item, and any set. If two SKUs perform the same job at nearly the same scale, one may be unnecessary.
Shared design elements should behave as a system. Decide whether the collection is unified by material, rim language, base treatment, color palette, motif family, label position, or handle form. Do not force every detail to be identical. A small desktop basket and a floor basket may need different openings, motif scale, wall structure, and handling even when they clearly belong together.
Review the smallest and largest products side by side. Check whether a face, ear, plaque, stripe, or label still has the right visual weight; whether handles remain proportionate; and whether color blocks align intentionally. Range design fails when one approved hero sample is merely enlarged or reduced without checking the function of the other sizes.
3. Evaluate silhouette from the shelf and the room
Silhouette determines recognition before customers inspect material details. Review the product from the front, side, top, and expected display angle. Specify the opening profile, corner or curve language, wall angle, rim height, base footprint, and relationship between body and handles or lid. If the product is shown filled, check whether contents hide the key design feature.
Then test the silhouette against the real placement. A shelf basket needs an opening consumers can access in its planned furniture position. A floor basket needs a stable intended stance and a scale that photography communicates honestly. A nested set should look deliberate both together and separated. A divider should support the storage task instead of creating narrow spaces that only appear useful in an empty image.
Use both outside and usable internal dimensions. Outside values control shelf, display, and carton fit; internal values control what the customer can store. Do not use a single volume claim or generic capacity statement unless the responsible buyer defines and substantiates it for the exact shape.
4. Review every accessible touchpoint and attachment
Map the places a shopper or user can touch: rim, opening, handles, side walls, base, lid, divider, liner, seams, plaques, ears, embroidery, tassels, ties, and fasteners. For each point, decide the intended feel, edge condition, flexibility, grip, and visible finish. A photograph can show color and shape, but it cannot close a tactile design decision.
Attached decoration needs a design and risk review, not merely an artwork approval. Ask whether the feature must project from the body, whether the same expression can be created with embroidery, weaving, color blocking, or a flatter plaque, and how the attachment appears from inside. Consider how the product may be lifted, dragged, reached into, tipped, nested, or handled during replenishment.
These checks do not prove safety. They help the buyer identify features that require design changes, defined inspection, or formal evaluation. Avoid broad phrases such as "rounded for safety" unless the relevant geometry and acceptance method are actually defined. Record the approved sample condition in observable terms.
5. Design motifs for repeatability, not only personality
Character details often carry the emotional identity of kids storage, so small placement changes can alter the expression. Create controlled artwork for eyes, nose, mouth, whiskers, ears, patches, embroidery, plaques, and color boundaries. Dimension each element, locate it from fixed product references, identify materials and colors, and show orientation.
Choose which variation is acceptable. Handmade placement may not reproduce a vector drawing with machine-like precision, but "handmade" should not become permission for an undefined face. Use an approved physical reference plus written critical relationships: eye level relative to the rim, spacing between features, centering on the visible panel, ear angle, or plaque alignment. The exact criteria depend on the chosen design.
Check the motif in ecommerce thumbnails, full-size product images, shelf distance, and side views. A detail that works only in a close-up may not carry the listing; a large feature may dominate the room context or obstruct a label. Also review the design without props so toys and styling do not conceal construction or scale.
6. Balance access, storage, and handling
A retail design should communicate how it is used. Review opening size, reach path, internal obstruction, divider layout, lid operation, liner behavior, and whether handles are intended for repositioning an empty basket or for another buyer-defined condition. Do not imply a load function unless method and acceptance have been established.
Place representative mock contents in the sample or a dimensional model. The purpose is not to promise that every consumer will store those items; it is to check access, visibility, motif obstruction, wall behavior, and internal space. If the basket is marketed for books, textiles, toys, or laundry, the photography and copy should match the product configuration actually reviewed.
Decide whether the consumer is expected to assemble, unfold, reshape, attach, or remove anything. Every such action needs clear instructions and must be compatible with the intended presentation. If a design requires extensive reshaping to look like the listing image, reconsider the structure or packing plan before approving the retail concept.
7. Design for merchandising and ecommerce evidence
List the images a shopper needs to understand the product: clean front view, side or top view, interior, base, material detail, handle or closure, scale context, set contents, and relevant packing or reshaping instruction. The hero image should sell the proposition, while supporting images should answer size, structure, and use questions without exaggeration.
Shelf merchandising needs its own review. Confirm facing direction, label visibility, how nested or stacked units are separated, whether the motif remains visible when the basket holds merchandise, and how colors are arranged. If a hangtag is part of the display, include it in the design rather than adding it after the motif and handle positions are fixed.
The kids storage basket collection is a useful commercial reference for shapes and room presentation. Use references to discuss an RFQ, but commission photography and copy from the approved product. A site image showing toys in a basket does not by itself establish an age grade, tested use, included contents, or capacity.
8. Integrate labels and packing into the design review
Reserve label space early. Identify brand marks, care information, material statement, barcode, SKU sticker, warnings or other required text, inserts, and carton identification as separate content layers. The buyer should approve wording for each destination and retailer. The product designer should make sure placement does not compete with the motif, deform the wall, block access, or become hidden in the selling position.
Packing choices change design presentation. Nesting can place surfaces and decorations in contact; folding can alter the silhouette; ties or bands can cover graphics; bags and inner cartons can change how a customer first sees the product. Review one realistic pack-out before locking features that are sensitive to pressure or abrasion.
Do not optimize carton volume in isolation. Compare the commercial saving with the steps needed to restore the approved retail state, the instructions required, and the risk of an inconsistent first impression. Product-specific packaging tests, transit checks, and acceptance criteria remain buyer variables.
9. Hold a retail design gate before detailed sampling
Use a cross-functional gate with buyer, designer, sourcing, merchandising, packaging, and compliance owners as applicable. Each owner should approve the design decision in their area or record an open issue. The meeting output is not a purchase order; it is a controlled concept ready to become a sample brief.
| Review area | Buyer decision | Stop condition |
|---|---|---|
| Proposition | Placement, task, shopper, selling format, market | Intended use or representation is unresolved |
| Range | Role of every SKU, shared language, size and color logic | Duplicate roles or unreviewed extreme sizes |
| Silhouette | Opening, rim, base, handles, lid, display angle | Shape conflicts with access, shelf, or set logic |
| Touchpoints | Accessible surfaces, edges, attachments, intended handling | A feature lacks an observable target or risk owner |
| Motif | Artwork, scale, placement, materials, allowed variation | Expression depends on undefined placement |
| Function | Usable space, access, dividers, consumer actions | Listing promise has no reviewed product state |
| Merchandising | Image set, scale evidence, facing, tag visibility | Styling hides structure or changes the offer |
| Labels | Content owners, versions, reserved positions | Required content has no destination-specific owner |
| Packing | Nesting, folding, protection, unpacking presentation | Pack plan cannot reproduce the approved display state |
A concept can pass with explicitly owned open items, but those items must enter the sample brief as questions or validation tasks. It should not pass when the core use, product representation, or SKU role remains contradictory.
10. Transfer the chosen design into sourcing
After the gate, create annotated views, a range grid, component list, artwork package, dimension plan, color references, label map, packing direction, and an open-issue log. If cotton rope is under consideration, use the cotton rope material-fit guide to decide whether the desired structure and claims are realistic. Then apply the importer sampling checklist to approve the physical result.
Send the controlled concept through the RFQ page with quantity by SKU and color, destination, requested commercial basis, and the decisions suppliers must confirm. This sequence keeps the retail design article focused on what should be built, the material guide focused on whether cotton rope fits, and the sampling guide focused on whether the prototype is ready to release.